Instructions for connecting to Azure:
Connecting with Remote Desktop Client software:
Download the Client:
The Client should be downloaded from the following link: http://aka.ms/wvd/clients/windows
Install the Client:
After running the file in the window that opens, select the Next option

In the window that comes next, mark V in I accept the terms in the license agreement (of course it is recommended to read the terms before the approval) And then click the Next button

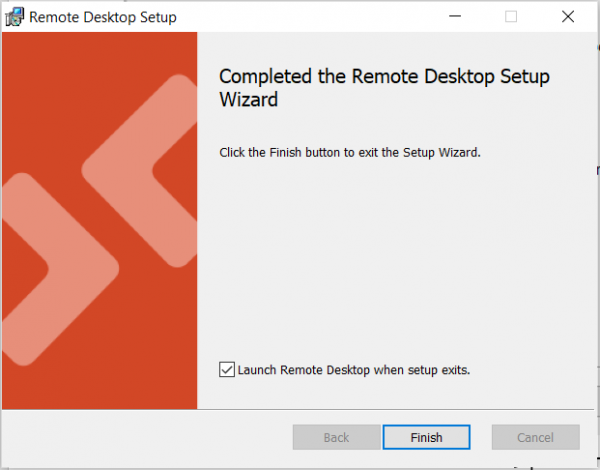
In the window do not change the default option and click the Install button

When the installation is complete, click on the Finish button
Step 3: Login through the Client:
To open the Remote Desktop Client, go to the "Start" button and type Remote Desktop. The Client will appear as an icon in the form of an orange circle with two white arrows inside it, as shown in the image

Clicking on the icon will open the following window:

Now click on Subscribe

The Microsoft Identification window will open. You must log in with the username and password with which you installed the Office software from the University (UPN).

Select the Work or School account option
You will now be taken to the university's identification page:

Type in the password and log in by clicking on "Login"
Step 4: Select a desktop

You will now see the Desktop Pools to which you can connect. Now click on the Study Cloud
type the password again and click OK

This is it ! You are successfully connected to the remote computer.
